Sprinter Gen 2 Roof RACK | Free shipping
Sprinter Gen 2 Roof RACK | Free shipping
SKU:E-RR-T-SP-G2144
Couldn't load pickup availability
-Free Shipping to 🇨🇦 & 🇺🇸.
-On back order, ships in 6 weeks.
Click here for assembly instructions.
Estimated installation time for first time DIYer:
4-6hrs
Dimensions:
-144"
External Width: 60.43"/1535mm Internal width: 58.66/1490mm Length: 126.77"/3220mm
170"
External Width: 60.43"/1535mm Internal width: 58.66/1490mm Length: 167.33"/4250mm
Fully customizable / DIYer Friendly
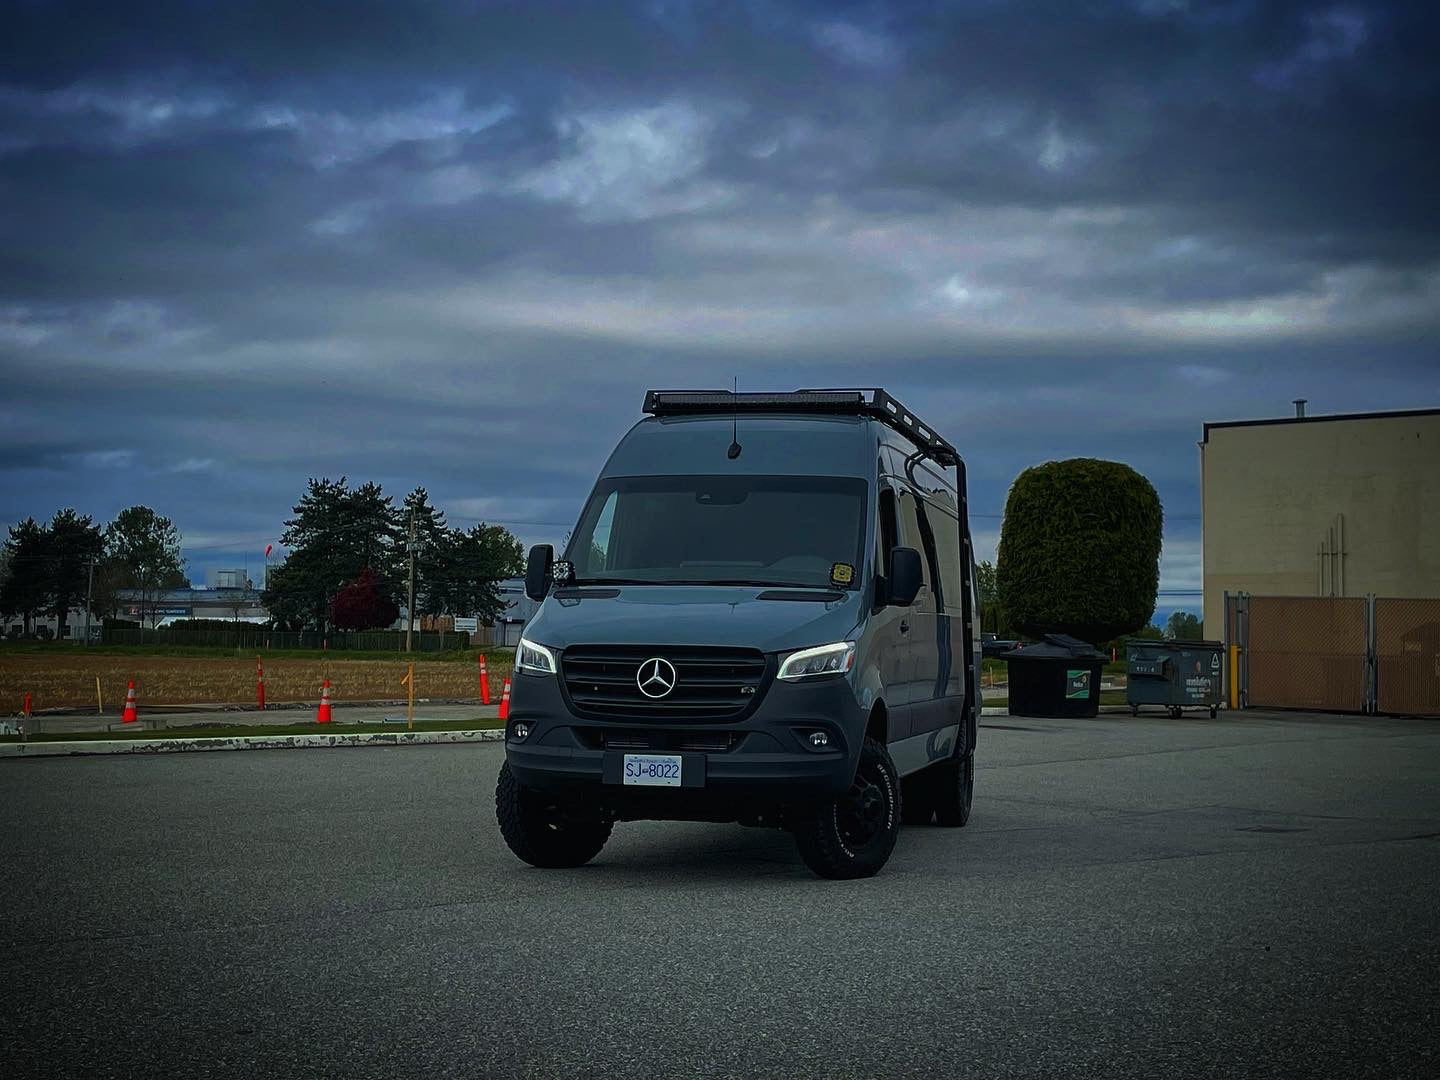
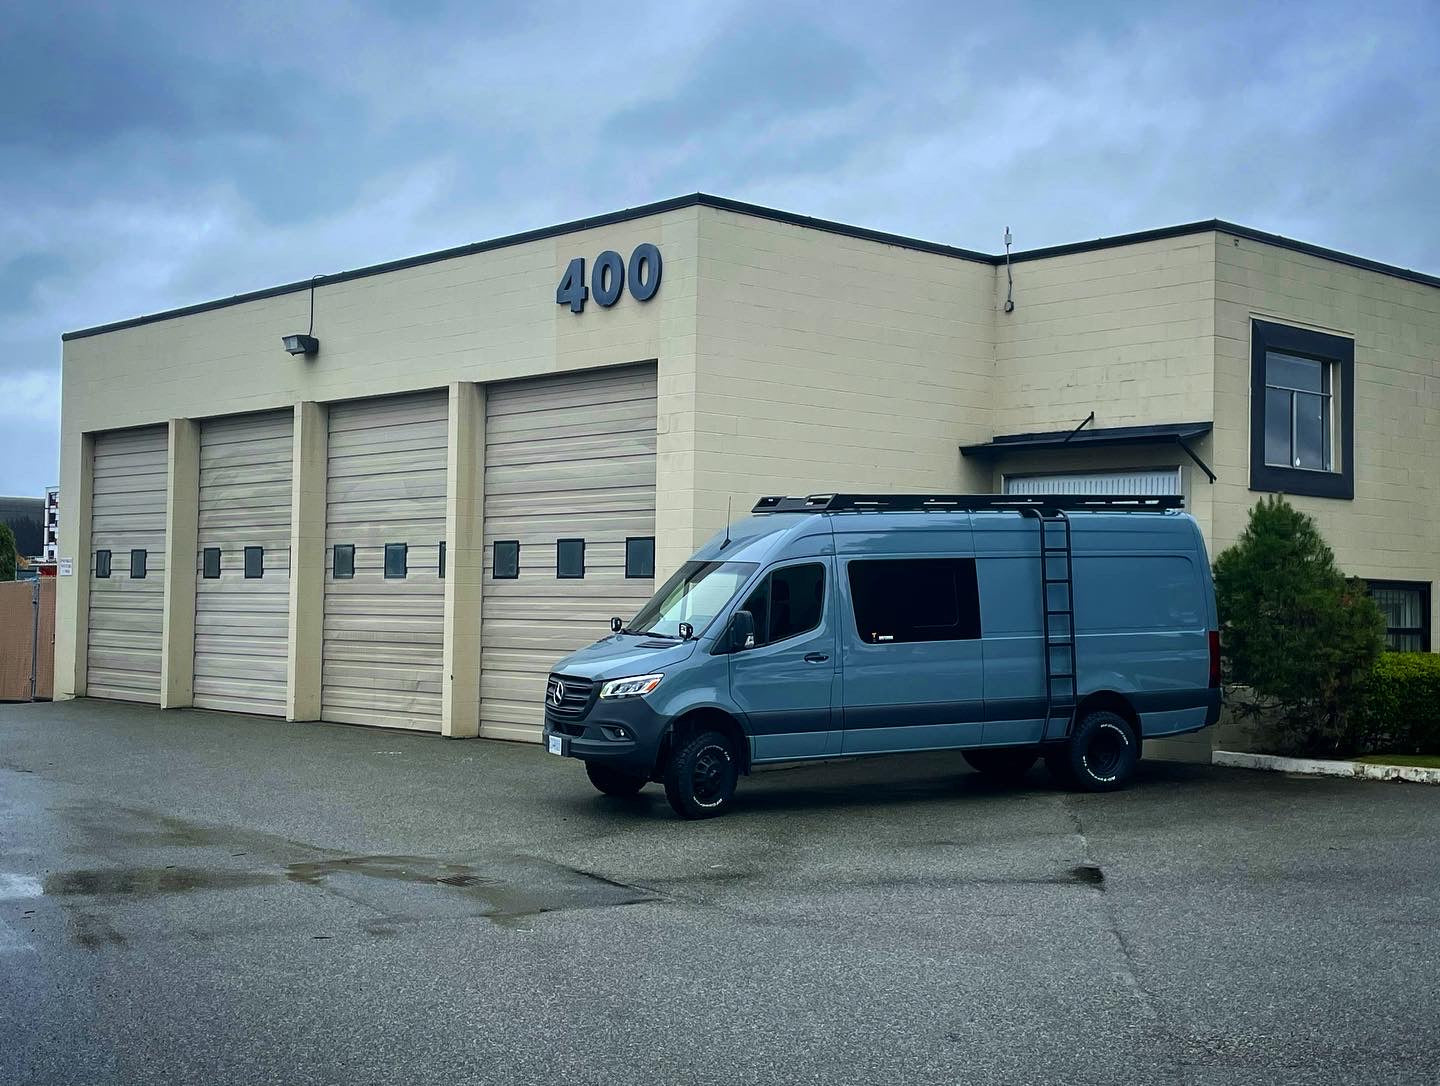
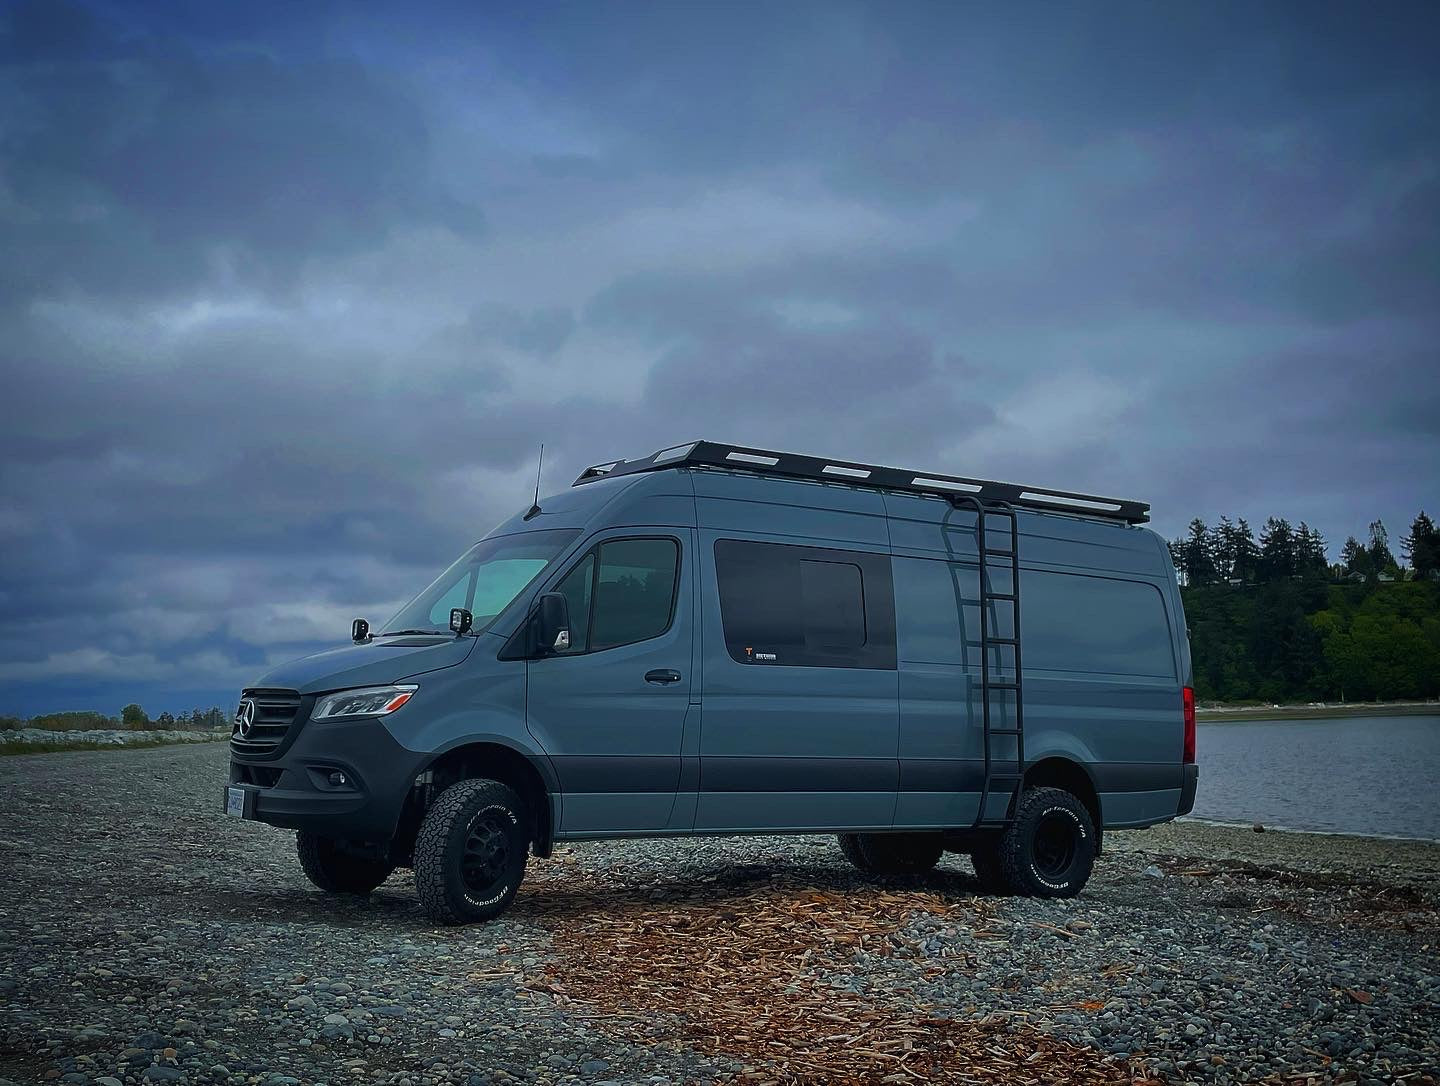
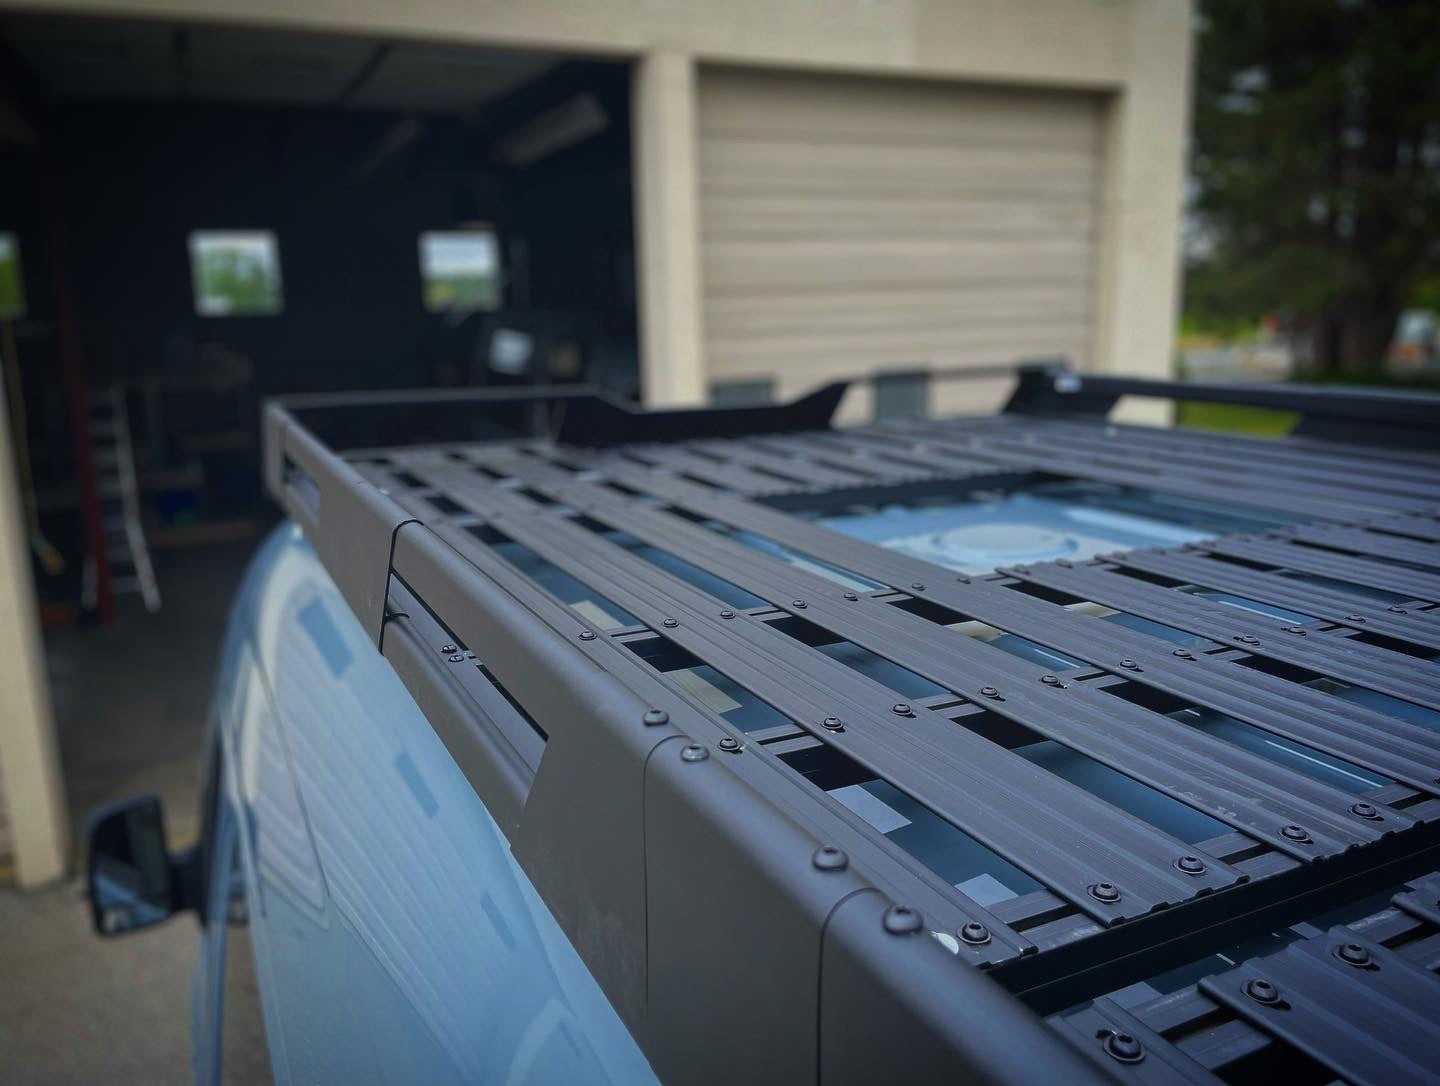
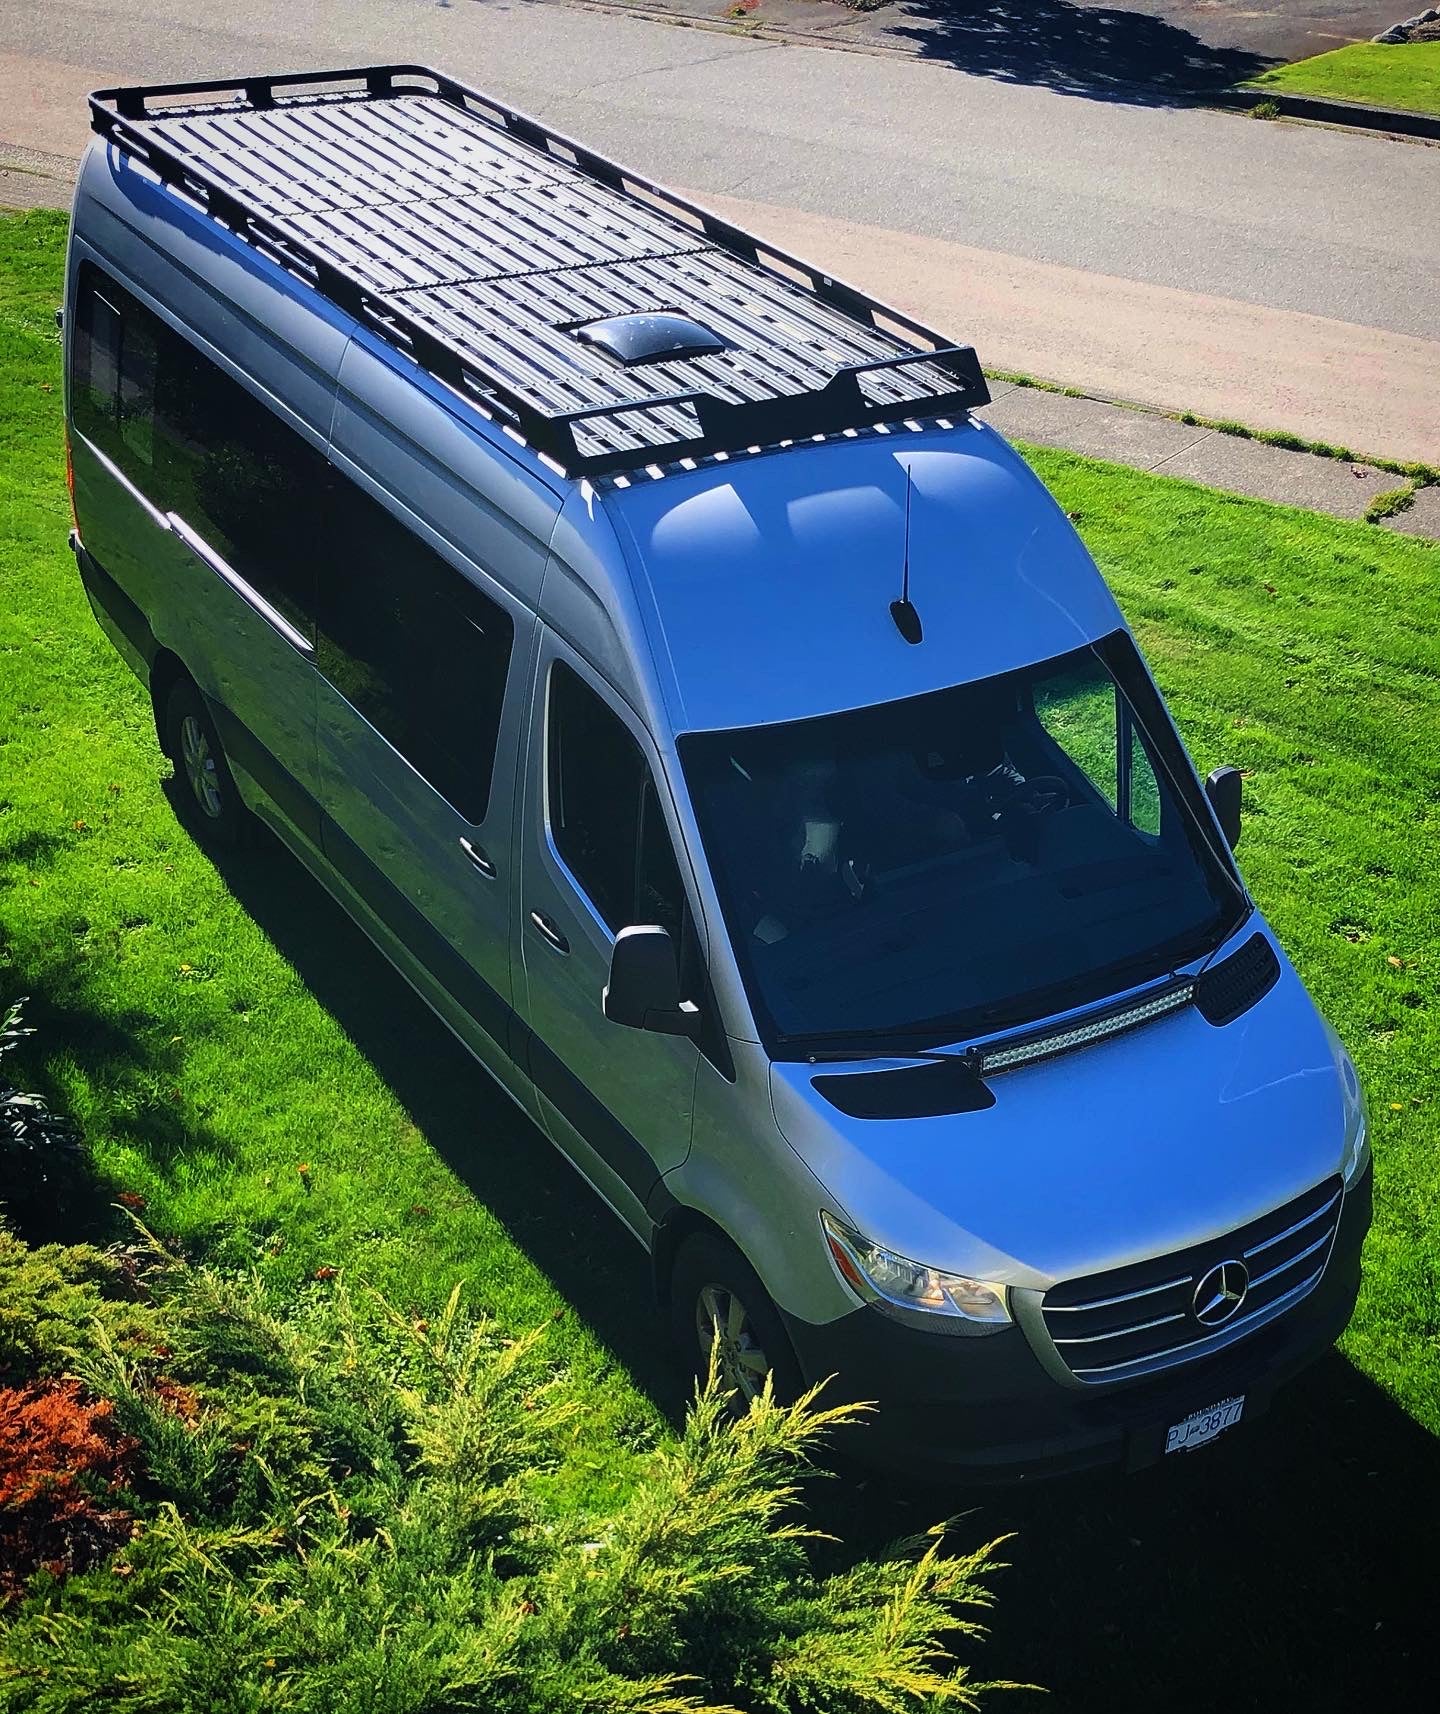
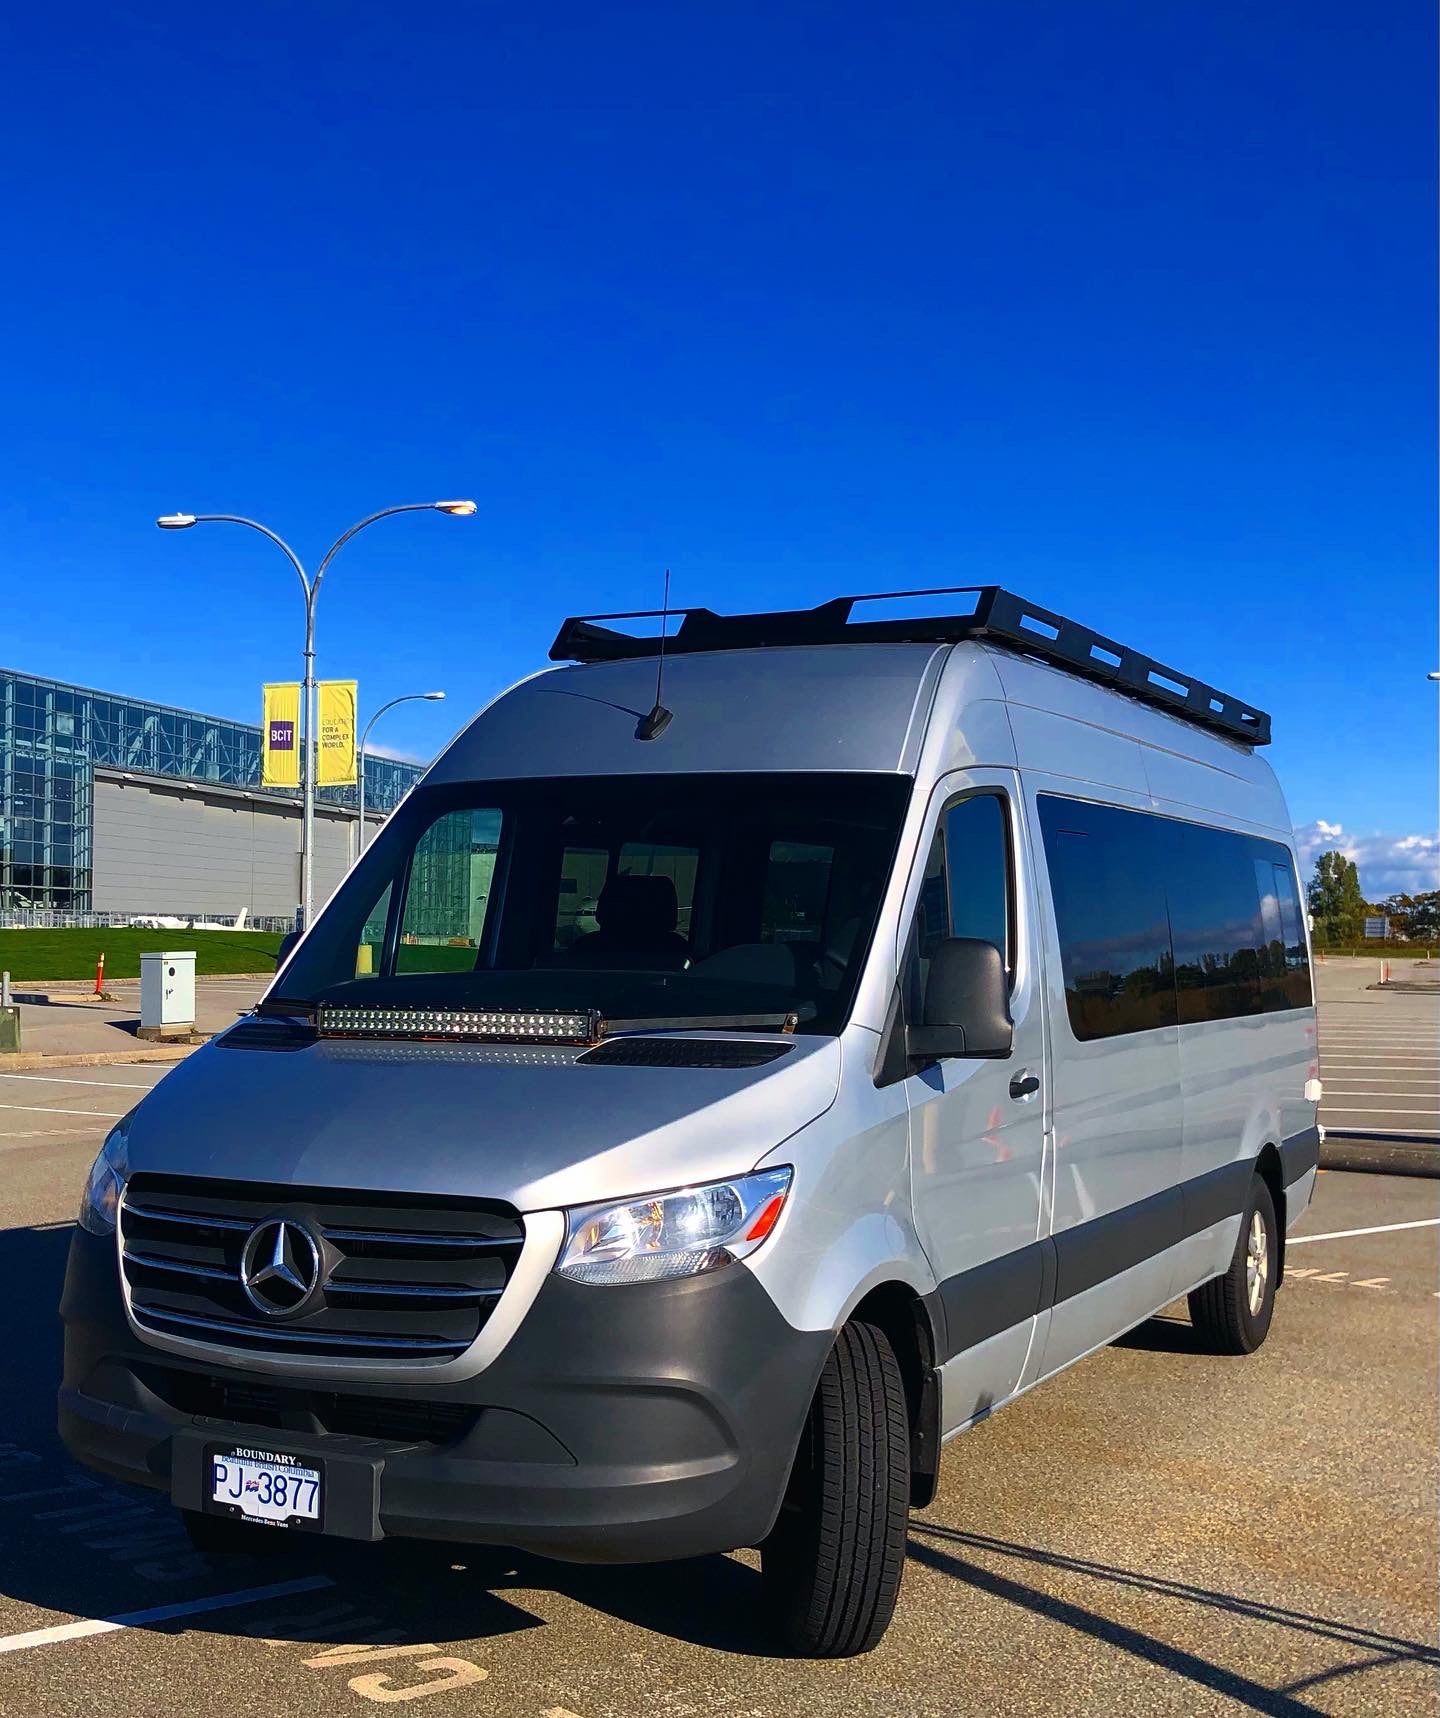
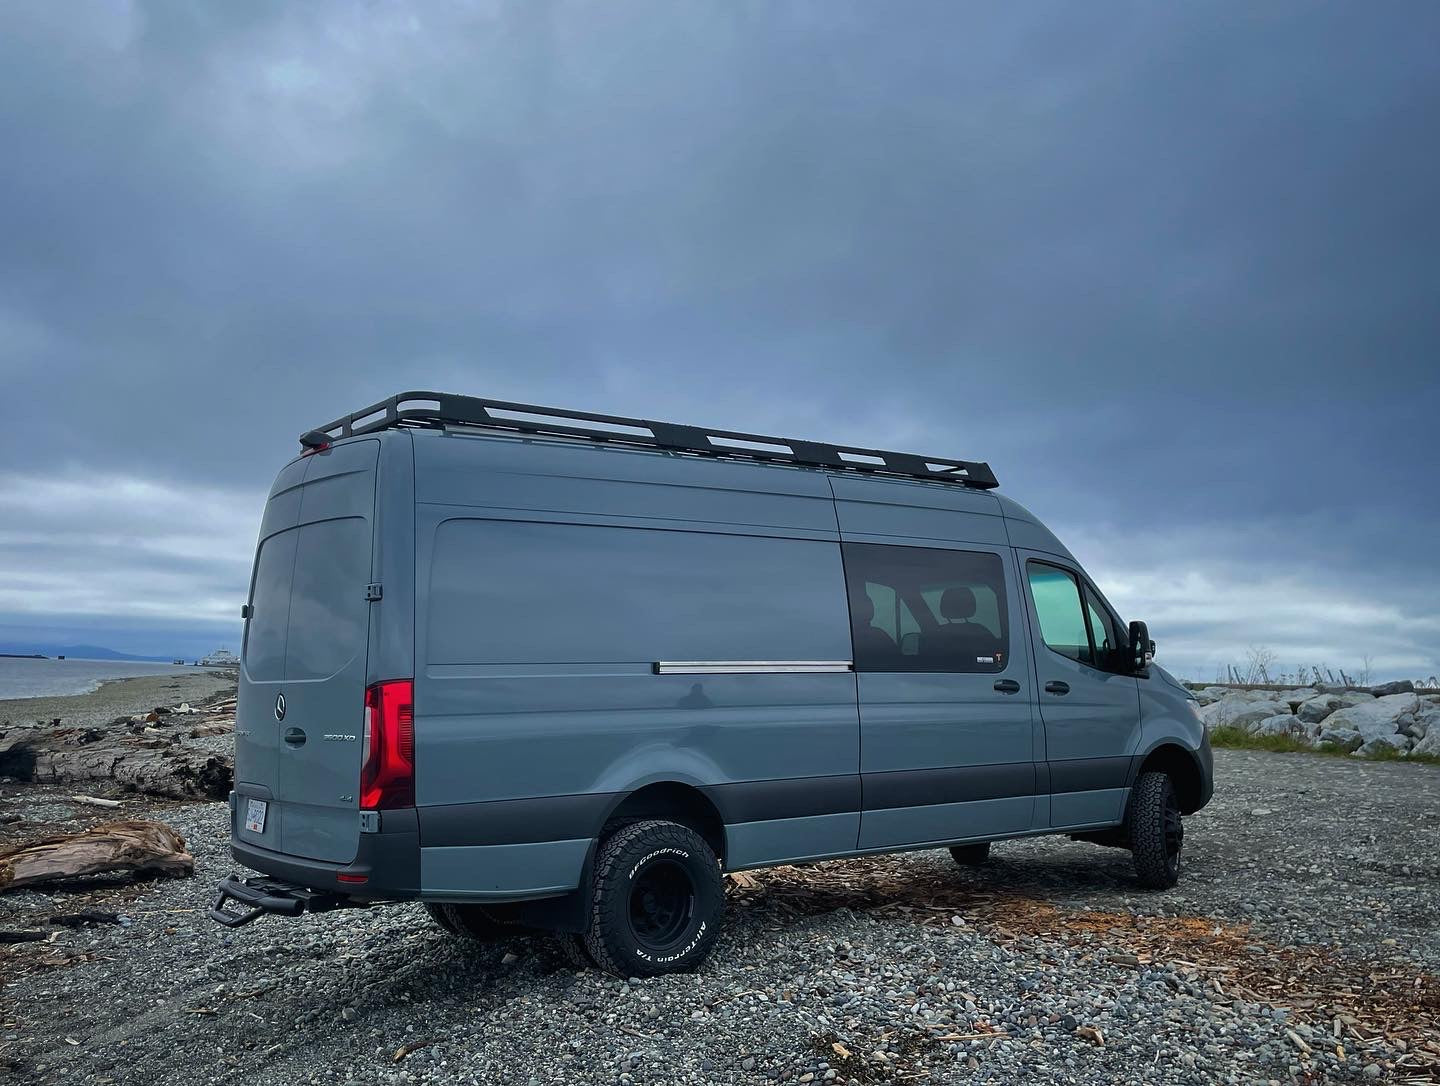
Behold our latest innovation in roof racks - the Gen 2! With its stronger and more durable adjustable/removable slats and cross bars, this rack takes versatility and load-bearing capacity to the next level.
In fact, our Gen 2 roof rack can take a whopping 25% more dynamic loads than its predecessor, making it the go-to choice for those seeking a reliable and sturdy roof rack solution.
What's more, our Gen 2 roof rack is incredibly versatile. Its cross bars can be easily relocated by drilling your own mounting holes, while the slat locations can be adjusted to fit around any components on your roof. This allows for a truly custom fit that perfectly accommodates your needs.
In short, our Gen 2 roof rack represents the pinnacle of cutting-edge engineering, combining unparalleled strength and adaptability to give you the ultimate roof rack solution. Upgrade today and experience the next level of performance!
Weight:
170” Sprinter 119lb
144” Sprinter 90lb
- Aircraft-grade high strength aluminum alloy. Powder coated.
- Modular design
- Free shipping in Canada! local pick up 5% off.
-Compatible with most Roof Top Tents
-Compatible with Fiamma, Dometic, Thule awnings. Complimentary awning mounting brackets available upon request.
For low roof Sprinters, please contact us to place your order.
Please note: There is a pre-cut opening for the factory roof fan location (compatibale with Maxxair fan) in our standard design. However, if you have a different location in mind or want to modify the rack to accommodate your specific roof vent placement, it is possible to do so. Please keep in mind that we don't offer custom cutouts as a standard option, unless the van is brought to our location for rack installation.
To perform the cutout yourself, the process is quite straightforward. You would need to cut an opening in the perforated deck and the corresponding crossbar. Once the cutout is made, you can reinforce the area around the cutout by joining the cut crossbar with the crossbars in front of and behind it using aluminum tubes. This reinforcement ensures the structural integrity of the rack even after the modification.
WARNING!
Ignoring the following warnings may result in the rack detaching from the vehicle, leading to serious injury or death. Ensure you do not exceed the maximum load limit specified by the vehicle manufacturer and use all available attachment points on the van roof. Inspect and tighten all hardware after the first 100 miles and every 600 miles thereafter. Check the overall integrity of the rack every 600 miles or monthly, whichever occurs first. If you are unsure, submit rack plans or photos to info@tecvan.co for evaluation before final installation or use. The van owner and/or installer assumes all risks associated with rooftop-mounted items and/or components.
Share


